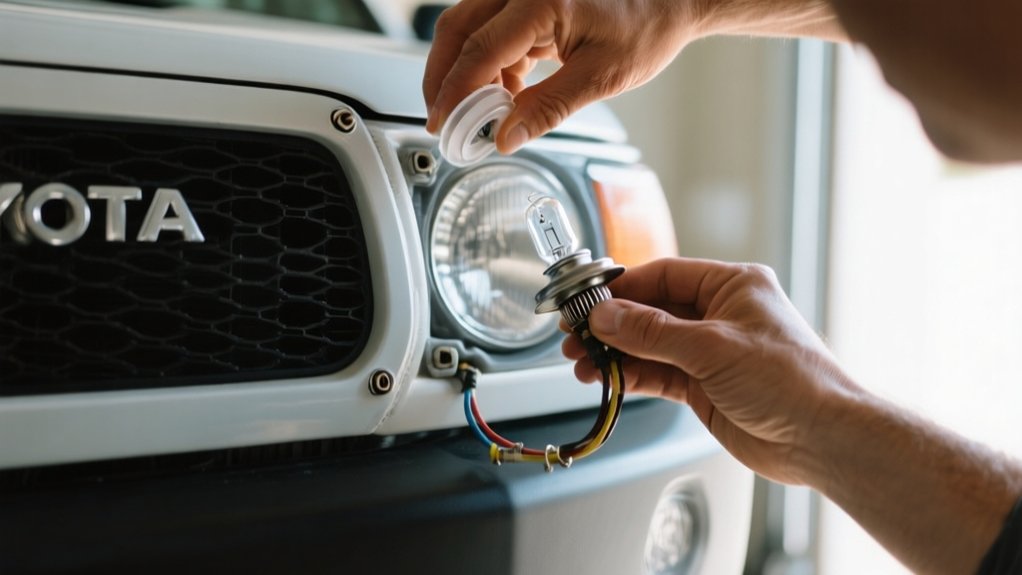
How To Replace Toyota 4runner Headlight Bulb – Do It Right
To replace your Toyota 4Runner headlight bulb correctly, start by confirming your low beam bulb type, usually H11 or 9006.
Park safely, disconnect the negative battery terminal, and remove the headlight assembly by unscrewing and detaching wiring harnesses.
Twist out the old bulb carefully, avoiding glass contact, then install the new bulb by aligning tabs and securing it.
Reconnect the wiring, test the light, and reassemble the headlight.
Following each step precisely guarantees proper installation and safety.
Further details will clarify troubleshooting and maintenance.
Key Takeaways
- Identify the correct low beam bulb type by checking the owner’s manual or bulb socket, typically H11 or 9006 for 2018-2019 models.
- Disconnect the negative battery terminal before starting to prevent electrical shorts and ensure safety during the replacement process.
- Remove the headlight assembly by unscrewing fasteners and disconnecting wiring harnesses carefully to access the bulb.
- Handle the new bulb by its base, avoid touching the glass, and securely twist it clockwise into the housing for proper installation.
- Reassemble the headlight, check bulb alignment and functionality, and keep spare bulbs handy for emergencies.
How To Identify Your Toyota 4Runner’s Low Beam Bulb
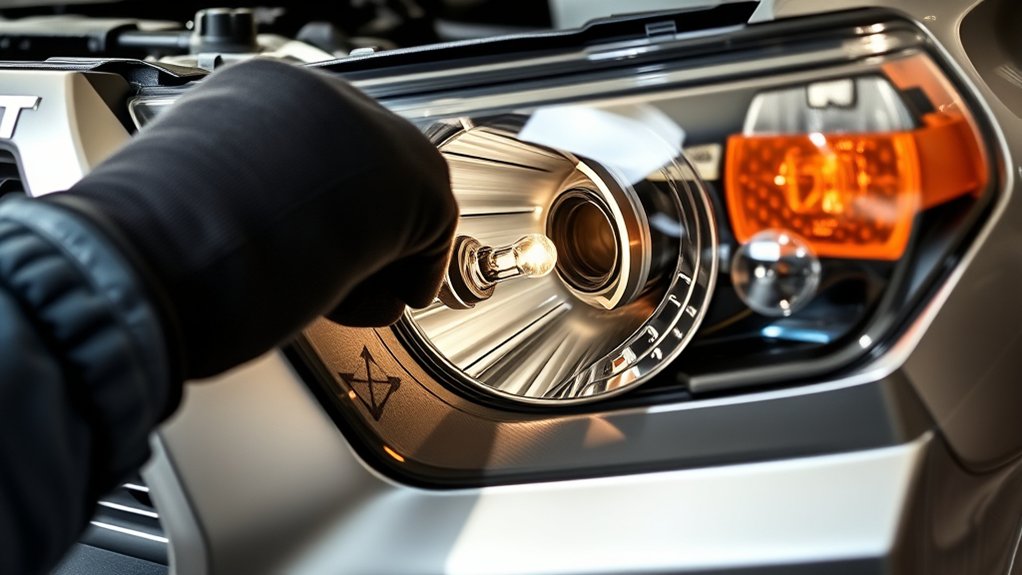
To identify your Toyota 4Runner’s low beam bulb, start by checking the owner’s manual or inspecting the bulb socket, which usually indicates the bulb type. For 2018 and 2019 models, the low beam bulb is often an H11 or 9006.
Make sure to confirm compatibility because slight design changes across model years can change the required bulb. If your 4Runner has aftermarket headlights, figuring out the right bulb can be trickier; check the headlight brand specifications to ensure proper fitment.
You can also use online resources or visit Toyota 4Runner forums where owners share detailed bulb info. This helps you identify the correct low beam bulb and avoid any compatibility issues, making the replacement process smoother.
Tools And Materials Needed For Bulb Replacement
Three essential tools you’ll need for replacing your Toyota 4Runner headlight bulb include a flathead screwdriver, a socket wrench, and a pair of gloves. These tools give you the support and protection you need during the process.
It’s also a good idea to prepare a clean workspace. This helps you organize parts easily and prevents small components from getting lost.
Make sure to verify the part number in your owner’s manual to get the correct replacement bulb. Wearing gloves prevents oils from your skin from touching the bulb, which could shorten its lifespan.
Gather these tools and materials before you start:
- Flathead screwdriver and socket wrench for disassembly
- The right replacement bulb matching your Toyota 4Runner specs
- Protective gloves for handling the bulb safely
- A clean workspace with a container for screws and small parts
Having everything ready beforehand makes the bulb replacement smoother and quicker.
How To Safely Prepare Your Toyota 4Runner
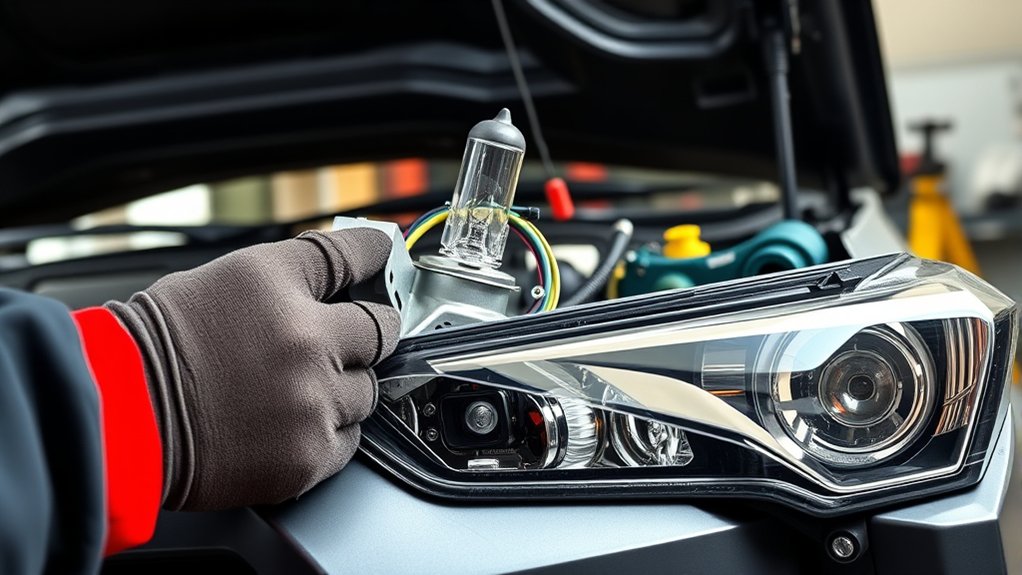
With your tools and workspace ready, start by parking your Toyota 4Runner on a flat surface and turning off the engine to avoid electrical hazards. Open the hood and secure it with the prop rod to provide safe access.
Next, disconnect the negative battery terminal to prevent any electrical issues like shocks or short circuits. Make sure to gather necessary tools like a socket wrench and flathead screwdriver before proceeding.
| Step | Action | Purpose |
|---|---|---|
| 1. Park & turn off | Flat surface, engine off | Prevent electrical hazards |
| 2. Secure hood | Use prop rod | Safe, clear workspace |
| 3. Disconnect battery | Negative terminal removed | Prevent electrical issues |
When And How To Remove The Headlight Assembly
Begin by disconnecting the negative battery terminal to eliminate any risk of electrical shorts while working on the headlight assembly.
To remove the headlight assembly safely and gain proper access, follow these steps precisely:
- Remove all screws or clips securing the headlight assembly; these vary by model year and headlight type.
- Gently pull the assembly forward, being careful not to damage attached wiring harnesses.
- Disconnect any wiring harnesses before fully removing the headlight assembly.
- For some models, remove the grille or bumper to improve access to the assembly.
Always consult your Toyota 4Runner’s service manual to verify steps specific to your model year. Properly disconnecting and removing the headlight assembly guarantees safe and efficient bulb replacement.
Remove The Old Low Beam Bulb Safely
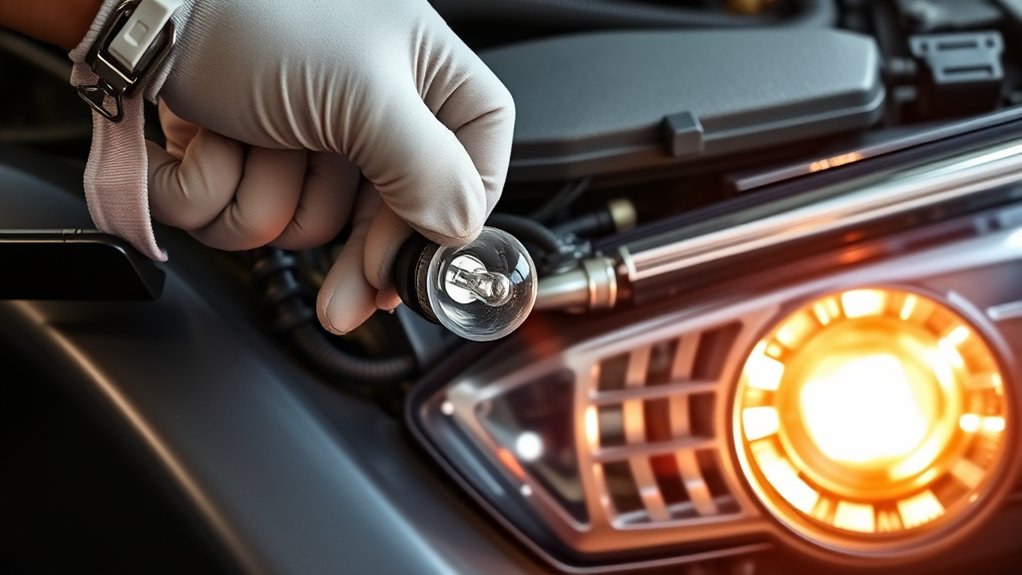
After you’ve safely removed the headlight assembly, make sure the vehicle is off and the key is out of the ignition before you proceed.
To remove the old low beam bulb safely, locate the bulb socket behind the headlight lens.
Depending on your 4Runner model, you might need to remove the entire headlight lens to get access.
Grasp the bulb socket and gently twist it counterclockwise to release the old bulb.
Avoid touching the glass part of the bulb directly, as this can cause damage.
Once removed, inspect the socket for debris or corrosion that could affect the connection.
Check your vehicle’s manual for model-specific instructions, especially for 2018 and 2019 variants, to ensure you remove the old bulb safely and accurately.
This will help prevent damage to the assembly or socket during the process.
Install The New Toyota 4Runner Bulb Without Damage
Two key precautions will help you install the new Toyota 4Runner bulb without causing damage: keep the vehicle off with keys removed, and handle the bulb using gloves or a clean cloth to prevent oils from your skin from compromising the glass.
When you install the new bulb, follow these precise steps to avoid damage:
- Confirm the vehicle is off and keys are removed to prevent electrical shock.
- Access the headlight assembly carefully, noting if lens removal is necessary.
- Hold the new bulb by its base, never touching the glass, to avoid contamination.
- Align the bulb’s tabs with the housing slots and insert it securely for proper fitment.
Reassemble The Headlight And Test Your Lights
Make sure you carefully align the headlight assembly so that the bulb sits just right and all the clips snap into place securely. Once that’s done, reconnect the wiring harness firmly to ensure you’ve got a solid electrical connection.
Before you finish putting everything back together, go ahead and turn on your lights to check that the new bulb is working properly. It’s a quick step that can save you from any surprises later on!
Proper Bulb Alignment
Once you install the new bulb, secure the headlight housing by tightening all clips and screws to maintain proper alignment and prevent moisture ingress. Proper alignment is essential for safety and maximum light output. Before finalizing, verify bulb seating to avoid flickering or poor illumination.
Use a level surface to guarantee headlights are aimed correctly, preventing glare for oncoming traffic. Follow your vehicle’s manual for specific adjustments. Confirm the bulb is fully seated in the socket and tighten all clips and screws to lock the housing in place.
Check headlights on a level surface to verify proper alignment. Adjust the beam height and direction according to manufacturer guidelines. This will ensure your Toyota 4Runner’s headlights function efficiently and safely.
Verify Light Functionality
After reassembling the headlight, double-check all electrical connections to make sure they’re secure and properly seated. Loose or improper connections can cause issues with functionality or cause the lights to flicker intermittently.
Once everything looks good, turn on both the low and high beams to test the headlights. Keep an eye out for any flickering or dimming, which could mean a poor connection or a faulty bulb.
If the headlight still isn’t working right, check the fuse related to the headlight circuit. Make sure it’s intact and properly installed. For more accurate testing, have someone stand outside the vehicle to give feedback on the light’s performance from a distance.
Troubleshoot Common Toyota 4Runner Bulb Replacement Issues
Although replacing a Toyota 4Runner headlight bulb might seem straightforward, you may run into challenges because of different model designs and aftermarket modifications. Keep these points in mind when troubleshooting common bulb replacement issues.
Accessing the low beam bulb sometimes requires removing the entire headlight assembly, especially if aftermarket designs change the housing openings. It’s also worth noting that both low beam bulbs can fail at the same time, so it’s a good idea to inspect and replace them together.
Model differences between the 2018 and 2019 Toyota 4Runner can affect the replacement process. Be sure to consult the correct guide for your specific year. Lastly, aftermarket headlight assemblies often have irregular openings, making bulb access more difficult and increasing the challenge of replacement.
Frequently Asked Questions
Can I Upgrade to LED Bulbs in My Toyota 4runner?
Yes, you can upgrade to LED bulbs in your Toyota 4Runner. First, check your model year and headlight housing to make sure they’re compatible for a proper fit.
You might need to install extra wiring or resistors to stop flickering, especially since some electrical systems can be tricky. Make sure the LED bulbs you choose produce at least as much light as the original bulbs to keep your visibility good.
Lastly, check your local laws to ensure your LED upgrade is legal before you start the installation.
How Often Should I Check My Headlight Bulbs?
You should check your headlight bulbs at least every six months to keep them working well. Studies show that dim or malfunctioning headlights can cut night visibility by up to 50%, which can increase your chances of an accident.
It’s a good idea to inspect your bulbs during routine maintenance or oil changes. Look for flickering or any changes in brightness — these are signs it might be time to replace them.
If you’re using aftermarket bulbs, check them more often because their quality can vary. Regular inspections help you replace bulbs before they burn out, keeping you safe and within road rules.
Are Aftermarket Bulbs Compatible With Toyota 4runner Headlights?
Yes, aftermarket bulbs can be compatible with Toyota 4Runner headlights, but you should check their specifications carefully. Make sure the bulb type, size, and electrical requirements match your vehicle.
Be aware that some aftermarket designs might make installation trickier or lower performance compared to OEM bulbs. It’s a good idea to read user reviews on specific brands to see how reliable and easy they are to replace before you buy.
What Is the Lifespan of a Typical Toyota 4runner Headlight Bulb?
A typical Toyota 4Runner headlight bulb lasts between 500 and 1,000 hours, depending on the bulb type.
Halogen bulbs usually last from 450 to 1,000 hours, while LED bulbs can go beyond 25,000 hours.
Factors like frequent switching, vibrations, and temperature extremes can shorten bulb life.
To keep your headlights bright, it’s best to replace bulbs in pairs before they fail.
Can Moisture Inside the Headlight Affect Bulb Performance?
Yes, moisture inside your headlight can cut bulb efficiency by up to 30%, making it harder to see clearly.
It creates a humid environment that speeds up corrosion and can cause the bulb to overheat, which shortens its lifespan.
Make sure to inspect and seal your headlight housing regularly to keep moisture out.
If you notice condensation, dry the assembly immediately and check for leaks.
This helps maintain optimal bulb performance and keeps your driving safe.
Conclusion
Replacing your Toyota 4Runner’s headlight bulb is pretty simple if you take your time. Did you know that about 90% of headlight failures happen because the bulb burns out?
By following these steps carefully—like choosing the right bulb, preparing safely, and installing without touching the glass—you’ll get the best possible visibility and safety.
Regular maintenance is key to avoiding unexpected headlight problems, so don’t skip this important task.
Now you’re all set to keep your 4Runner’s headlights shining bright and reliable.