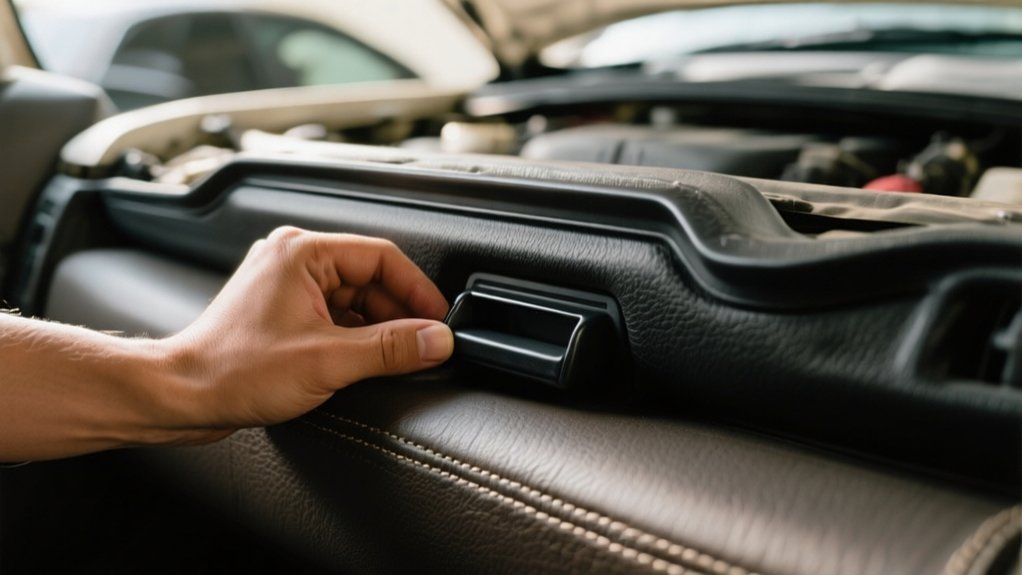
How To Open 4runner Hood – Quick Tips
To open your 4Runner hood, pull the hood release lever located under the dashboard on the driver’s side.
Then, reach under the front center edge of the hood to find and release the secondary latch by pushing or lifting it.
Lift the hood carefully, supporting it with the prop rod or struts.
Check for a smooth, secure close afterward.
Following these precise steps, you can guarantee safe, effective hood access while avoiding damage and common issues.
Key Takeaways
- Pull the hood release lever located under the dashboard on the driver’s side to release the primary hood latch.
- Reach under the front center edge of the hood and slide the secondary latch sideways or upward to fully unlock the hood.
- Lift the hood straight up and secure it with the prop rod or struts, keeping hands clear of pinch points.
- Lubricate the hood release mechanism if it feels stuck, and gently pry the secondary latch if necessary.
- When closing, align the hood properly, press evenly until it snaps shut, and verify it stays securely latched.
Locate the Toyota 4Runner Hood Release Lever Inside Your Vehicle
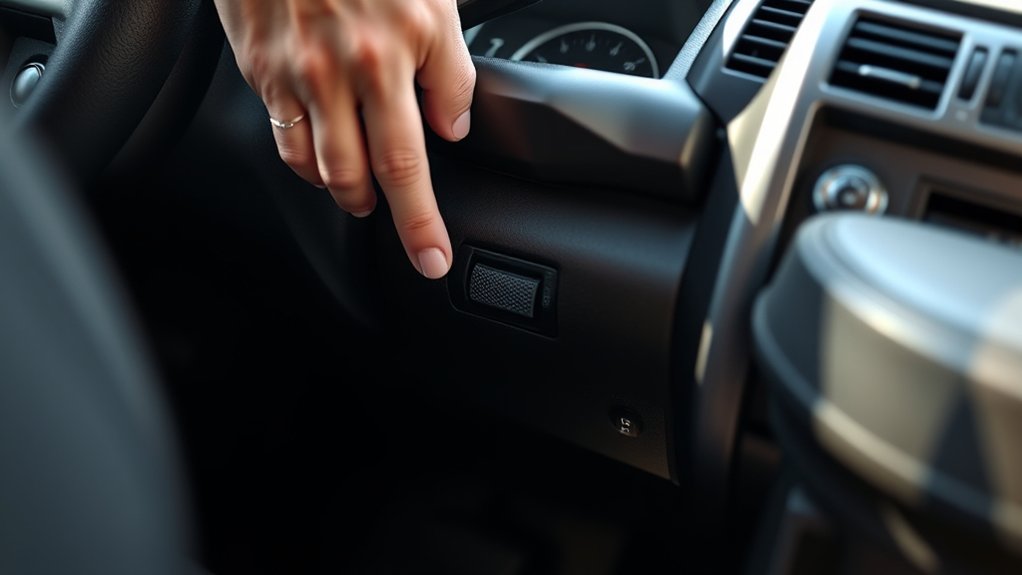
Before you try to open the hood of your Toyota 4Runner, you’ll need to find the hood release lever inside the vehicle.
Sit in the driver’s seat and look under the dashboard on the lower left side, near the driver’s door.
The hood release lever is a small handle, usually marked with a hood icon or the word “PULL.”
It’s positioned within easy reach, typically below the steering wheel column.
Grip the lever firmly and pull it towards you. This will cause the hood to pop open slightly.
Make sure you apply steady pressure until you feel resistance give way.
Once you pull the lever, the hood releases from the primary latch, so you can move on to the next step to fully open it.
Unlock the Secondary Hood Latch to Open Your 4Runner Hood
After pulling the interior hood release lever, the hood will pop up slightly but stay secured by the secondary latch. To fully open your 4Runner’s hood, find this latch under the front center edge of the hood.
Pull the interior hood release lever; the hood will pop up but remain secured by the secondary latch.
Slide your hand under the hood and feel for a small lever or tab. This is the secondary hood latch. Push or lift the latch sideways or upward, depending on your model, to disengage it.
While holding the latch, lift the hood slowly until it clears the latch mechanism. Make sure the hood is fully released before raising it completely. This helps prevent it from snapping shut unexpectedly.
Once it’s fully open, you can safely prop the hood up for maintenance or inspection.
How to Open Your 4Runner Hood Safely Without Damage
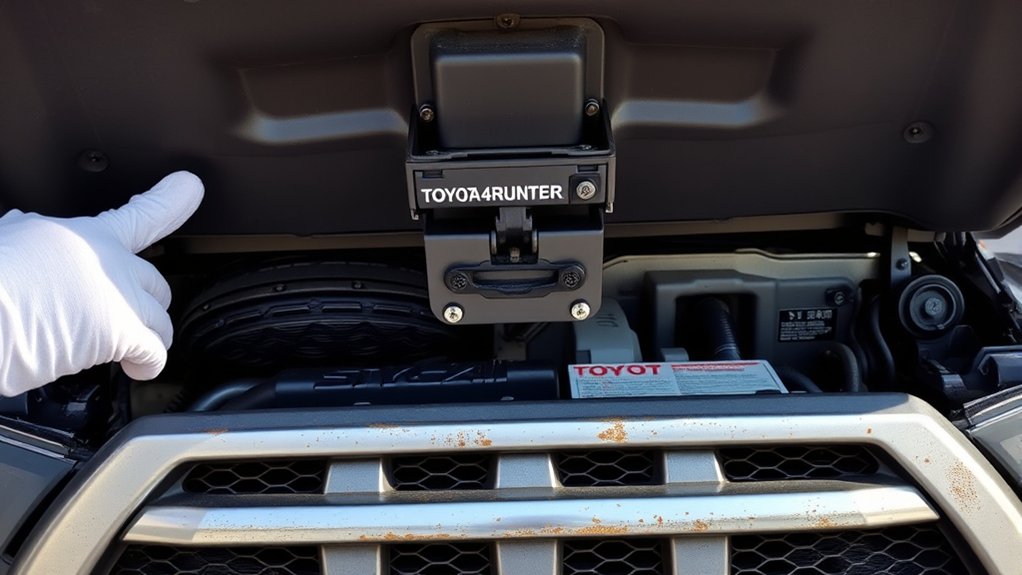
When opening your 4Runner hood, apply steady pressure on the release lever and secondary latch to avoid bending or damaging the parts. First, pull the interior hood release lever firmly but smoothly until you hear the hood pop slightly.
Next, go to the front of the vehicle and find the secondary latch beneath the hood’s front edge. Press or slide this latch with controlled force to fully unlock the hood.
Lift the hood straight up, supporting it with the hood prop rod or hydraulic struts, depending on your model. Be careful not to use sudden or excessive force on the latch or hood.
This can prevent misalignment or damage. Always keep your hands clear of pinch points when opening the hood to stay safe and protect the components.
Troubleshooting a Stuck Toyota 4Runner Hood Release Lever
Applying steady pressure to the hood release lever and secondary latch usually prevents damage and guarantees smooth operation, but sometimes the lever can get stuck. If this happens, follow these steps:
- Inspect the lever mechanism: Look for debris, rust, or broken cables that could obstruct movement.
- Lubricate moving parts: Use a spray lubricant on the lever pivot and cable to reduce friction.
- Manually release the latch: If accessible, use a flat tool to gently pry the secondary latch while pulling the lever inside the cabin.
Avoid forcing the lever excessively to prevent cable or lever damage. If these steps don’t free the mechanism, you may need to remove the interior panel to access and repair the cable or latch assembly directly. Always work carefully to maintain the integrity of the hood release system.
Perform Quick Checks After Opening Your 4Runner Hood

When you open the hood of your 4Runner, the first thing you want to do is check the fluid levels—things like engine oil, coolant, and brake fluid. It’s a quick and easy step to make sure everything’s where it should be.
Then, take a visual look at the main engine parts. Look for any signs of damage, leaks, or loose connections. Doing these quick checks can really help keep your vehicle running smoothly and catch any small issues before they turn into bigger problems.
Inspect Fluid Levels
Check the fluid levels promptly to confirm your 4Runner operates reliably and safely. Start by identifying the main reservoirs under the hood, then perform these quick checks:
- Engine Oil: Pull out the dipstick, wipe it clean, reinsert fully, then remove it again to check the oil level. Verify it’s within the marked range and that the oil is clear, not milky or gritty.
- Coolant: Inspect the translucent coolant reservoir. The fluid should be between the “Full” and “Low” marks and have a consistent color without debris.
- Brake Fluid: Locate the brake fluid reservoir and verify the fluid level against the “Max” and “Min” indicators. The fluid must be clear and free of contaminants.
These checks help prevent mechanical failures and maintain your vehicle’s performance.
Check Engine Components
Start by visually inspecting key engine components to confirm your 4Runner runs smoothly.
Examine the serpentine belt for cracks, fraying, or glazing, which indicates wear that needs replacing.
Check the battery terminals for corrosion or loose connections. Clean and tighten them as needed to ensure proper electrical flow.
Inspect hoses for leaks, bulges, or soft spots that could cause coolant or vacuum issues.
Make sure the air filter is clean and properly seated to maintain good airflow.
Look over the radiator and coolant reservoir for signs of leaks or damage.
Verify wiring harnesses are secure and free of damage. These quick checks help identify potential problems early.
They can prevent breakdowns and costly repairs.
Regularly inspecting these components guarantees your 4Runner’s engine performs reliably and efficiently.
Close Your Toyota 4Runner Hood Securely and Correctly
To close your Toyota 4Runner hood securely, start by making sure it’s aligned properly with the latch. Once everything lines up, press down evenly on the hood to ensure it seats smoothly and there are no gaps. It’s important to apply steady, even pressure so it closes evenly.
After that, give the hood a gentle lift to check if it’s fully locked in place. If it stays up slightly or feels loose, it might need to be pressed down a bit more. Taking these small steps helps make sure your hood is safely secured before you hit the road.
Align Hood Properly
Lower the hood smoothly until it’s about a foot from the latch. Before pressing it down fully, make sure it’s properly aligned to avoid damage and ensure it closes securely.
First, visually inspect the edges of the hood to confirm they are parallel with the fenders on both sides. Check the gap between the hood and the front grille; it should be even and consistent across the width.
If you notice any misalignment, gently shift the hood side to side to adjust its position. Taking these steps helps the hood sit flush, preventing rattles and improving aerodynamics.
Proper alignment also makes sure the latch engages correctly, setting you up for safely securing the hood in the next step.
Apply Even Pressure
Press down firmly and evenly across the front edge of your Toyota 4Runner’s hood to engage the latch securely. Use the palm of your hand to apply consistent pressure, avoiding force on one side only.
Uneven pressure risks misalignment or incomplete closure, which can cause rattling or safety hazards while driving. Make sure your hand covers a broad area near the center to distribute force uniformly.
Do not slam the hood, as this can damage the latch mechanism or deform the hood. Instead, lower the hood gently until it’s about 6 inches from the closed position, then apply steady pressure until it snaps shut.
This method guarantees a proper seal and protects your vehicle’s components from environmental exposure.
Check Latch Engagement
Verify the hood latch is fully engaged by gently lifting the front edge after closing it. If the hood moves or lifts, the latch hasn’t secured properly, and you need to close it again.
Follow these steps to guarantee proper latch engagement:
- Lower the hood until it’s about 12 inches above the latch, then release it to drop and latch automatically.
- Press down firmly on the center front edge of the hood to seat the latch fully.
- Test by gently lifting the hood; it should remain firmly in place without any movement.
A securely engaged latch prevents the hood from unexpectedly opening while driving, ensuring safety. Always double-check latch engagement before hitting the road.
Frequently Asked Questions
What Tools Do I Need to Open a Toyota 4runner Hood?
You don’t need any tools to open a Toyota 4Runner hood. Simply locate the hood release lever inside the vehicle, usually near the driver’s side footwell, and pull it to disengage the hood.
Then, go to the front of the vehicle and find the safety latch under the hood’s edge. Press or slide this latch to fully release the hood, allowing you to lift it open.
Tools aren’t required for this process.
Can I Open the Hood if the Release Lever Is Broken?
Certainly, you can work around a broken cable. If the release lever is damaged, try reaching the hood latch directly through the grille or under the front bumper.
Use a long, sturdy tool like a screwdriver or pliers to carefully manipulate the latch mechanism and pop the hood open. Be gentle to avoid any damage.
If this feels tricky or you’re unsure, it’s best to get professional help. That way, you avoid causing further damage or costly repairs.
How Often Should I Check the Hood Latch Mechanism?
You should check the hood latch mechanism at least twice a year to make sure it works properly. Look for rust, debris, or any damage that could cause problems.
Lubricate the moving parts with a suitable spray lubricant each time you check. This helps keep everything moving smoothly.
If you often drive in harsh conditions, consider inspecting the latch more often. Regular checks can prevent surprises and ensure your hood opens and closes securely every time.
Is It Safe to Open the Hood in Rainy Weather?
Yes, it’s generally safe to open your hood in rainy weather, but just be careful. First, make sure your hands are dry so you can get a good grip on the latch.
Avoid opening the hood during really heavy storms to keep water from getting into sensitive engine parts. Once it’s open, try to shield the engine bay from the rain as much as you can.
After closing it, check the latch for any moisture buildup to prevent rust or it sticking later on.
What Causes the Hood Release Cable to Freeze or Stick?
The hood release cable freezes or sticks mainly because moisture gets inside the cable housing along with dirt or rust.
When water seeps in and the temperature drops, the moisture can freeze, making the cable hard to move.
Lack of lubrication also makes things worse by increasing friction, so pulling the cable becomes more difficult.
To avoid this, regularly spray the cable with a silicone-based lubricant and keep the release mechanism clean and dry.
Conclusion
Now that you’ve navigated your 4Runner’s hood with confidence, remember to release the lever gently, latch the secondary lock securely, and inspect for any issues to guarantee safety.
Swift, smooth steps prevent damage and deliver dependable performance. When closing, carefully check the hood’s click to confirm it’s correctly and securely sealed.
Following these focused, fail-safe functions keeps your Toyota ready and reliable for every ride ahead.