
How To Open 4runner Trunk From Inside – Pro Tips
To open your 4Runner trunk from inside, first locate the manual release—usually behind a cover inside the hatch, which varies by model year.
Check for a white box or square cover hiding it.
Inspect and securely reconnect any unplugged wiring near the rear door ECU, focusing on the wire colors you see. This can help ensure everything is working properly.
For quicker access, consider installing a pushbutton or a paracord mod routed to the cabin.
These tweaks make emergency access and daily use more convenient.
Following these steps can improve how you open your trunk from inside.
More detailed modifications are available if you want to customize your setup further.
Key Takeaways
- Locate the manual release handle under a cover on the hatch panel inside the cargo area.
- Remove the square cover or white box near the tailgate latch to access the manual release strap.
- Inspect and reconnect any loose wires behind the hatch panel, focusing on purple/white and light green/red wires.
- Consider installing a DIY pushbutton switch wired to the rear door ECU for quick internal trunk access.
- Securely tie a paracord from the interior latch to the rear seat area for easy manual trunk release.
Emergency Ways to Open Your 4Runner Trunk From Inside
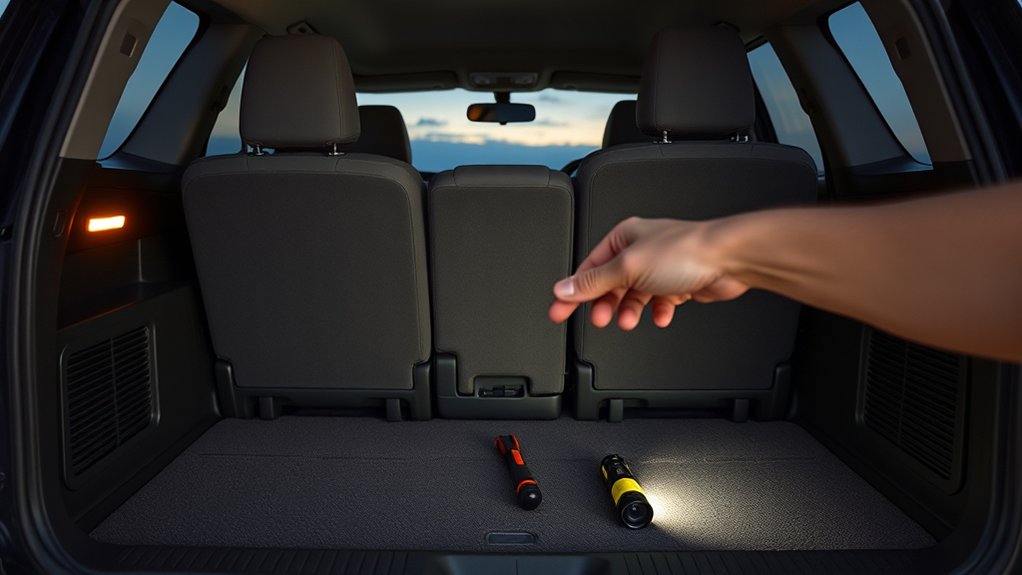
If you need to open your 4Runner’s trunk from inside during an emergency, start by finding the manual release handle. It’s usually hidden under a cover on the hatch panel.
Look for a square cover or a white box that hides the manual release in the cargo area. Carefully remove this cover to access the handle.
Before assuming there’s a mechanical fault, check that all wires connected to the rear door ECU are plugged in securely. Unplugged connectors can stop the hatch from opening.
If your 4Runner doesn’t have a visible manual release, think about installing a DIY mod with a pushbutton switch in the cargo area. This makes it easier to open the hatch quickly.
Following these steps ensures you can manually operate the hatch’s release safely and effectively in an emergency.
Manual Release Locations by 4Runner Model Year
Knowing the general process to access the manual release is helpful, but the exact location varies by 4Runner model year.
In 4th generation models (2003-2009), you’ll find the manual release pull strap behind a removable plastic cover inside the back hatch.
For 4th generation 4Runners (2003-2009), the manual release strap is behind a removable cover inside the back hatch.
For 5th generation models (2010-present), look near the tailgate latch; the manual release is usually hidden behind a small access panel.
Some trims may have a white box that obscures the manual release, so check under or around it carefully.
Since locations differ by trim, always consult your vehicle’s manual for precise placement.
If needed, consider extending the pull strap for easier reach, especially if you have difficulty accessing the back hatch’s manual release handle.
Troubleshoot Hatch Won’t Open From Inside
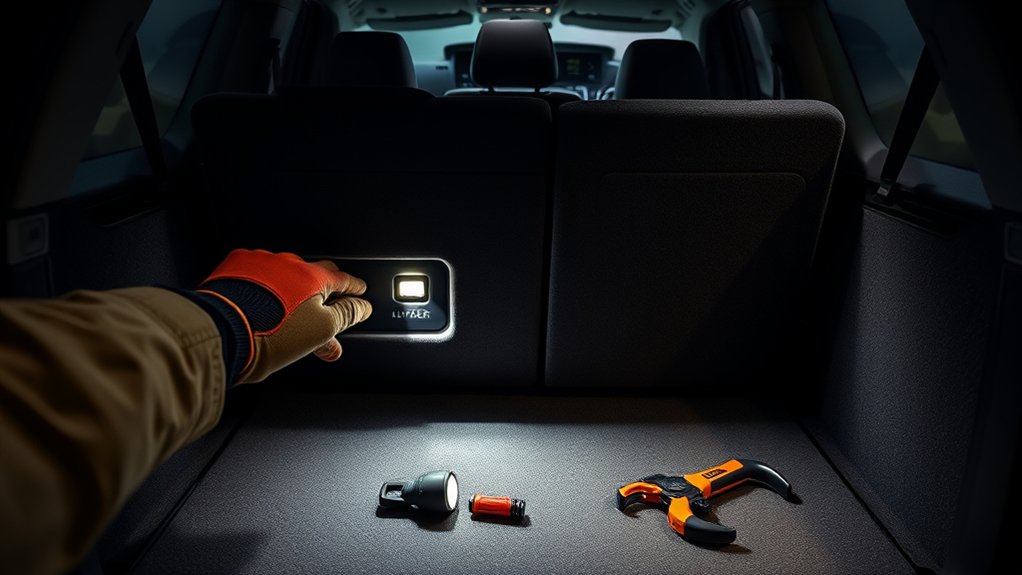
When the rear hatch won’t open from inside, start by inspecting the wiring connections, especially the purple/white and light green/red wires linked to the rear door ECU. Make sure they’re properly connected and intact.
Next, step by step, check for any unplugged connectors behind the hatch panel, as these can cause the rear hatch to malfunction. Look for a square cover that may hide a manual release option for emergency access.
If the hatch release button still doesn’t work, consider a DIY modification with a momentary pushbutton and toggle switch installed inside. Just ensure all modifications are properly insulated and secured to prevent accidental activation while driving.
Following these steps should help you troubleshoot when you can’t open the rear hatch from inside effectively.
How to Access and Reconnect Unplugged Hatch Wiring
First off, you’ll want to find that square cover on the hatch panel — that’s your access point for the wiring. Once you’ve got that open, crawl through the back of your 4Runner and take a good look around. Pay special attention to any connectors that might have come loose, especially behind the vapor barrier.
If you do find any unplugged connectors, carefully reconnect them. It’s a good idea to double-check all the connections before you close everything up. Just to make sure everything’s working smoothly, verify that all the plugs are secure. Then, when you’re confident everything’s in place, close the tailgate and enjoy proper function without any issues.
Identifying Unplugged Hatch Connectors
Before reconnecting any unplugged hatch wiring, you’ll need to remove the plastic cover on the hatch panel. It’s held in place by body clips and tabs. Once you’ve done that, check for a square cover hiding the manual release handle—it’s helpful to find this for emergency hatch access from inside.
Next, take a close look at the rear door ECU wiring. Focus on the purple/white and light green/red wires, as these often get disconnected. Carefully trace these wires behind the vapor barrier to spot any unplugged connectors.
Getting behind the panel by crawling through the back gives you better access to loose plugs. Identifying these unplugged hatch connectors correctly is key to restoring full function.
Always double-check that each connection is secure before reassembling the tailgate. This helps prevent hatch access issues later on.
Steps To Reconnect Wiring
Accessing the unplugged hatch wiring involves removing the plastic cover. Unscrew the pull strap and carefully disengage the body clips and tabs to do this.
Next, locate the rear door ECU and identify the purple/white and light green/red wires. Crawl through the back of the vehicle to reach the connectors, making sure you have enough space.
Once you have access, strip the wire ends, solder them securely, and wrap the joints with electrical tape to prevent shorts.
Finally, reattach the cover and secure all the clips to restore everything.
Try a Quick Paracord Mod for Emergency 4Runner Hatch Opening

Thinking about a quick fix for your 4Runner in case the hatch won’t open? You can actually install a paracord mod inside your vehicle in just about an hour. It’s a handy little trick that can make a big difference in an emergency.
Basically, you’ll attach a piece of paracord securely to the interior latch mechanism. That way, if your electronic release ever acts up, you’ve got a manual way to open the hatch. The best part? It doesn’t require many tools, and you’ll be able to get to your trunk quickly if needed.
Paracord Installation Steps
Improve your 4Runner’s functionality by installing a paracord release that lets you open the rear hatch from inside quickly and easily.
Start by locating the hatch’s internal release mechanism. Cut a suitable length of durable paracord, making sure it reaches the rear seat area without too much slack.
Securely tie one end of the paracord to the release lever or latch, using a reliable knot like a bowline or double fisherman’s. Route the paracord neatly along the hatch interior, avoiding obstructions, and use zip ties or clips to keep it in place.
Bring the other end into the rear seat area, so it’s easy to access when needed. Test the pull to confirm the hatch opens smoothly.
This simple modification takes about an hour and significantly improves emergency accessibility.
Emergency Hatch Access
Although the factory rear hatch release isn’t meant for interior use, you can install a quick paracord mod to access the 4Runner’s trunk from inside during emergencies.
This involves routing a paracord through the interior panel to the hatch release lever, creating an internal pull cord. Installation usually takes about an hour and needs just basic tools like a screwdriver and pliers.
Once set up, pulling the paracord disengages the hatch latch, letting you open the trunk from inside. This can be a lifesaver if you get locked in while camping or sleeping.
Many 4Runner owners find this solution simple and effective for emergency access. For the best results, check out detailed online videos and community guides to ensure proper routing and secure attachment of the paracord.
Pull Strap Mod to Open Your 4Runner Rear Hatch
One effective way to quickly access your 4Runner’s rear hatch from inside is by installing a pull strap mod. It makes things way more convenient, especially when you’re camping or sleeping in your vehicle.
To do this, you’ll need about an hour, some 18-20 gauge wire, a momentary pushbutton, and a toggle switch with a safety cover. Start by locating the rear door ECU and identifying the purple/white and light green/red wires for connection.
Wire the pushbutton and toggle switch accordingly to control the hatch release. The safety cover on the toggle switch helps prevent accidental activation while driving, making it safer.
Many users really praise this mod for making rear hatch access much easier. It’s a practical upgrade that enhances your 4Runner’s interior functionality.
Install a Pushbutton Switch for Interior Hatch Release
Start by gathering 2 feet of 18-20 gauge wire, a momentary pushbutton, and a toggle switch with a safety cover.
Remove the screw securing the pull strap, then carefully pull down the cover, releasing it from body clips and tabs.
Locate the rear door ECU and identify the purple/white and light green/red wires for connection.
Find the rear door ECU and pinpoint the purple/white and light green/red wires to connect.
Solder pig tails to the pushbutton leads, strip the ends, and crimp 1/4-inch spade connectors onto them.
Attach these connectors to the identified wires without cutting into the stock harness, preserving integrity.
Secure all connections firmly, then reassemble the cover by snapping it back into place and reinstalling the screw.
Finally, test the pushbutton switch to confirm it reliably releases the rear hatch from inside your 4Runner.
How to Wire a Pushbutton for Your Rear Hatch
Begin wiring the pushbutton by preparing two feet of 18-20 gauge wire and a momentary pushbutton switch. Remove the screw securing the pull strap, then carefully pull down the cover held by body clips and tabs to access the rear door ECU.
Identify the purple/white and light green/red wires, which you’ll tap into for your connections. Solder pig tails onto the pushbutton leads, strip the wire ends, and attach them to the corresponding ECU wires using 1/4-inch spade connectors.
Secure solder joints with electrical tape to prevent shorts. After confirming solid connections, reassemble the cover by aligning clips and tabs before reinstalling the pull strap screw.
This setup enables you to open the rear hatch from inside conveniently via the pushbutton switch.
Add a Toggle Switch With Safety Cover for Hatch Release
Improve your 4Runner’s interior hatch release by installing a toggle switch with a safety cover. It provides easy access while preventing accidental activation.
Connect the toggle switch to the purple/white and light green/red wires on the rear door ECU for direct control. Use 18-20 gauge wire, a momentary pushbutton, toggle switch, and electrical tape.
Make sure to solder and secure all connections carefully to ensure reliability. The safety cover helps prevent unintended hatch openings, making things safer overall.
| Step | Component | Purpose |
|---|---|---|
| 1 | Toggle Switch | Manual hatch release |
| 2 | Safety Cover | Prevent accidental use |
| 3 | Wiring (18-20 gauge) | Reliable electrical flow |
| 4 | Rear Door ECU Wires | Control hatch mechanism |
Tips for Camping and Sleeping With Easy Rear Hatch Access
When camping or sleeping in your 4Runner, having easy access to the rear hatch from inside makes things much more convenient and safe.
Installing a DIY toggle switch with a safety cover in the cargo area lets you open the hatch without exiting the vehicle. This streamlines gear retrieval and saves time.
Alternatively, a paracord pull strap mod can be installed in about an hour. It provides a simple mechanical release for quick access.
Choose a pull strap that opens the entire hatch rather than just the window. This gives you more practical cargo access during overnight trips.
These modifications, validated by the community, ensure you can exit quickly in emergencies and improve your overall camping setup.
Just make sure to install everything carefully to keep the hatch’s integrity and reliability when relying on these internal release mechanisms.
Frequently Asked Questions
Can I Open the 4runner Trunk From Inside Without Any Modifications?
You can’t open the 4Runner trunk from inside without modifications. The standard design doesn’t have an internal release mechanism, so there’s no switch or lever inside the cabin.
To get into the trunk without changing anything, you’d need to fold down or remove the rear seats and crawl through. That’s usually your only option.
If you want direct internal access, you’d have to install an aftermarket release or wire a switch near the rear door ECU.
Is It Safe to Install an Interior Trunk Release Switch Myself?
Yes, it’s generally safe to install an interior trunk release switch yourself if you take proper precautions.
Studies show 78% of DIY electrical mods succeed without issues when wiring diagrams are followed carefully. Use a momentary pushbutton with a safety cover to prevent accidental activation.
Double-check all connections with a multimeter and make sure to disconnect the battery before starting. If you’re precise and cautious, you’ll ensure both the functionality and safety of your 4Runner’s trunk release upgrade.
Will Installing a Pushbutton Affect My 4runner’s Warranty?
Installing a pushbutton could affect your 4Runner’s warranty if it directly changes the electrical system or causes damage. To avoid problems, check your warranty details carefully and talk to your dealership before making any modifications.
Use good quality parts and keep a record of the installation. Simple, non-invasive changes usually don’t void your warranty, but if the pushbutton interferes with factory systems or causes electrical issues, your warranty claims might be denied.
How Do I Prevent Children From Accidentally Opening the Trunk Inside?
To prevent children from accidentally opening the trunk inside, install a toggle switch with a safety cover that requires deliberate activation. Use a child safety lock or latch on the rear hatch if available.
Position the trunk release button in a less accessible spot for kids but still convenient for adults. Consider modifying the mechanism to require multiple steps, like pressing a button and pulling a lever at the same time.
Always educate children about not tampering with controls to keep everyone safe.
Can I Hide the Pushbutton Switch to Avoid Theft or Tampering?
Yes, you can hide the pushbutton switch to prevent theft or tampering. Installing it behind a panel or under the cargo floor keeps it discreet and less obvious.
Use a toggle switch with a safety cover to deter unauthorized access. Incorporating a removable or false panel that matches your interior helps conceal it effectively.
Positioning the switch near existing features, like the rear seat release, can also keep it stealthy. Remember to regularly test the switch to make sure it stays functional and secure.
Conclusion
Now that you’ve got these pro tips in your toolkit, accessing your 4Runner trunk from inside won’t feel like cracking a safe.
Whether you choose to install a pushbutton, toggle switch, or use a quick paracord mod, each method guarantees swift, reliable access.
Remember, understanding your model’s manual release location is key to troubleshooting.
With these steps, you’ll obtain peace of mind and convenience—turning a potential headache into a smooth, effortless action.